







Garden lighting fails through poor planning, not poor products. Design by zones first, match brightness to 50–150 lumens for paths, 200–400 for seating and follow UK light pollution guidance to avoid neighbour complaints.
Garden lighting fails when fixtures are chosen before the layout is planned. The result is glare-soaked patios, unsafe paths, and neighbours annoyed by intrusive security lights, wasting money and ruining the space after dark. This guide shares the professional principles electricians use, with clear UK-ready figures for brightness, spacing, and weather protection.
Key Takeaways
- Divide your outdoor space into circulation, activity, feature, and security zones before selecting a single fixture, as each needs different brightness levels and placement strategies.
- Paths need just 50–150 lumens per light, seating areas 200–400 lumens, while many homeowners massively over-light and waste energy creating uncomfortable glare instead of atmosphere.
- Councils must investigate complaints where artificial light unreasonably interferes with neighbours, so correct placement and shielding are essential to avoid legal issues.


How Garden Zones Determine Your Lighting Layout
Professional garden lighting design starts with zoning, not shopping.
You divide your outdoor space into functional areas that each require different lighting approaches. This prevents the random placement approach that leads to uneven coverage, wasted fixtures, and gardens that look patchy after sunset.
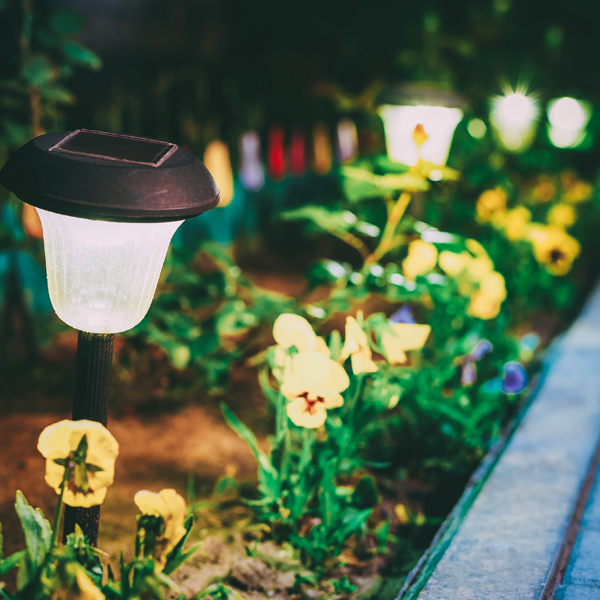
- Circulation zones like paths, steps, and driveways require consistent, low-level guidance lighting for safe movement. The purpose here is navigation, nothing more. Overlighting these areas creates glare and wastes energy on spaces nobody lingers in anyway.
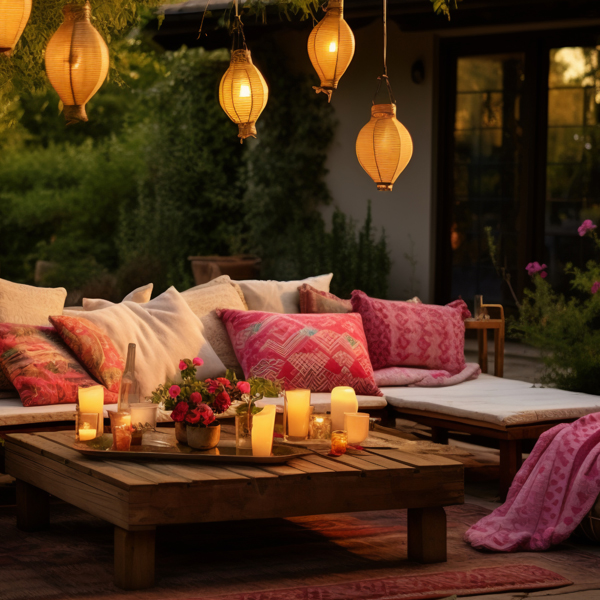
- Activity zones such as patios, seating areas, and dining spots need comfortable ambient lighting that supports conversation without blinding anyone sat opposite you. Think soft background illumination, not interrogation room brightness.
- Feature zones including trees, planting beds, architectural elements, and water features use directional accent lighting to add depth and visual interest after dark. These zones create atmosphere rather than function, so the lighting can be more creative (and lower in intensity than people assume).
- Boundary and security zones covering entrances, gates, and vulnerable access points require subtle motion-activated or dusk-to-dawn lighting. The goal is deterring intruders without creating the kind of constant brightness that disturbs everyone within a hundred metres of your property.
By mapping these zones first, you can determine where light is actually needed, which naturally reduces fixture count and prevents over-lighting. Each zone has different brightness requirements and fixture types, so trying to use one approach everywhere always fails.
Brightness Levels That Actually Work
Homeowners rarely have a reference point for how bright is bright enough.
That leads to arbitrary fixture choices and gardens lit like football stadiums when all you wanted was a pleasant evening sitting area. Down below in the following table, you will see how different garden zones link to lumen ranges that actually work without causing problems.
| Garden Zone | Recommended Lumens per Fixture | Purpose |
|---|---|---|
| Path and step lighting | 50–150 lumens | Safe navigation without glare |
| Ambient seating and dining | 200–400 lumens | Comfortable conversation lighting |
| Feature and accent lighting | 300–800 lumens | Visual interest and depth |
| Security and entrance | 700–1,200 lumens | Motion-activated deterrent |
These figures represent practical output levels for UK gardens without EVs or heat pumps drawing additional evening power.
Professional lighting design calculates brightness based on purpose, not maximum output. Using lower lumen levels in garden zones reduces energy consumption, light pollution, and glare whilst still achieving full functionality.
This approach also aligns with UK Government guidance on responsible lighting, which emphasises using light only where needed and avoiding excessive brightness that contributes to sky glow and ecological harm.
Spacing and Placement for Path and Security Lighting
Incorrect spacing causes problems in two areas more than anywhere else.
Paths get over-lit with double the fixtures needed, whilst security zones end up with ineffective coverage that misses the actual vulnerable points around your property.
Path and Driveway Spacing
Typical spacing for path lights sits at 2–3 metres apart along one side of the path.
Not both sides, unless the path is exceptionally wide or has sharp curves that need extra guidance. Lighting both sides creates unnecessary brightness and doubles your fixture count without improving safety in any meaningful way.
Downward-facing or bollard-style fixtures at 400–600mm height prevent glare and stop light spilling sideways into planting beds or neighbouring properties. Steps and level changes need lighting immediately adjacent to the riser, not several metres away where it does nothing to show the actual hazard.
Security Lighting Placement
Position security lights to cover vulnerable access points like side gates, rear entrances, and dark corners where someone could approach your property unseen.
Mount height should be 2.5–3 metres to provide wide coverage whilst staying out of easy reach for tampering. Angle fixtures downward and inward toward your property, never outward toward neighbours or roads.
Use PIR motion sensors with adjustable sensitivity to avoid triggering on passing wildlife, cats, or pedestrians on the pavement outside your boundary.
Correct spacing and placement do more to improve lighting effectiveness than adding more fixtures ever will. Fewer well-positioned lights outperform many poorly placed ones, which is why planning layout matters so much more than buying expensive products.
When selecting fixtures for these applications, weather resistance becomes critical. Choosing fixtures with appropriate IP ratings for UK weather exposure ensures your lights survive our damp climate without premature failure. Local planning authorities in the UK recommend lighting design principles that prioritise minimal spill, which proper fixture angling and placement naturally achieve.
Low Voltage vs Mains Voltage Systems
Professional UK installations favour 12V or 24V low-voltage systems for garden lighting.
There are good reasons for this preference, though mains voltage still has its place for specific applications.
Low-voltage systems running at 12V or 24V are safer for outdoor use because there is reduced risk of electric shock in wet conditions. They are more flexible for layout changes or future expansion without needing to rewire half the garden. Easier to adjust after planting matures or your garden layout evolves, which happens more often than people expect when planning installations.
Transformers typically support 8–12 fixtures per circuit, depending on total wattage. LED low-voltage systems convert approximately 70% of energy to light, making them highly efficient for long-term running costs.
Mains voltage systems running at 230V are required for higher-output security floodlights above 1,000 lumens. Qualified electricians must install them in full compliance with UK’s electrical installation standard. Less flexibility for post-installation adjustments exists with mains systems. Higher installation costs apply because of buried armoured cable requirements.
For garden lighting projects, low-voltage LED systems offer the best combination of safety, flexibility, and energy efficiency. Mains voltage is reserved for high-output security lighting or long cable runs where voltage drop becomes a concern.

Avoiding Light Pollution and Neighbour Nuisance
Light pollution and statutory nuisance are practical design considerations that improve the quality of your own garden lighting.
- Upward light spill happens when fixtures send light skyward, wasting energy, harming nocturnal wildlife (especially bats and insects), and reducing everyone’s ability to enjoy dark skies. Use downward-facing or shielded fixtures wherever possible to prevent this.
- Horizontal spill into neighbouring properties comes from poorly aimed or excessively bright lights.
Timing and control matter too. - Use timers, dimmers, or smart controls to reduce lighting duration. Lights that run all night are more likely to cause complaints than those on 3–4 hour schedules tied to actual garden use.
- Rural and dark sky areas require even lower brightness levels to avoid being intrusive. In areas with low ambient light, gardens need significantly less illumination to achieve the same practical effect.

Good lighting design naturally minimises light pollution by directing light only where it is needed. This improves your garden’s atmosphere while respecting neighbours and the environment.
Weather Protection and IP Ratings for UK Gardens
British weather doesn’t go easy on outdoor lighting, so knowing how well your fittings are protected really matters. If a light can’t handle the weather, it won’t last long in a British garden.
IP ratings make it clear which fittings are built for sheltered spots and which can cope with full exposure year round.
| IP Rating | Protection Level | Suitable Garden Zones |
|---|---|---|
| IP44 | Splash-resistant | Covered patios, pergolas, under eaves |
| IP65 | Water jet-resistant | Exposed paths, driveways, seating areas |
| IP67–IP68 | Submersion-resistant | Water features, ponds, ground-level fixtures |
These are minimum protection standards for each setting.
Given year-round moisture in the UK, IP65 is a sensible baseline for exposed outdoor installations.
Conclusion
Effective garden lighting starts with proper planning. Zoning, brightness and placement prevent light pollution and neighbour issues, while professional design ensures compliance, lowers costs, and delivers better long-term results.
For expert advice on your garden lighting project, get in touch for a free estimate. We will assess your outdoor space, discuss usage after dark, and recommend tailored placement, brightness, and system design.
FAQs
How do I calculate how many lumens I need for my garden?
Start by identifying your lighting zones. Paths need 50–150 lumens per fixture, seating areas need 200–400 lumens, and feature lighting requires 300–800 lumens depending on the size of the object being lit.
Should garden lights be placed on one side or both sides of a path?
In the majority of cases, lighting one side of a path is sufficient for safe navigation and creates a more natural appearance. Both sides are only necessary for very wide paths or commercial applications.
Can I install garden lighting myself or do I need an electrician?
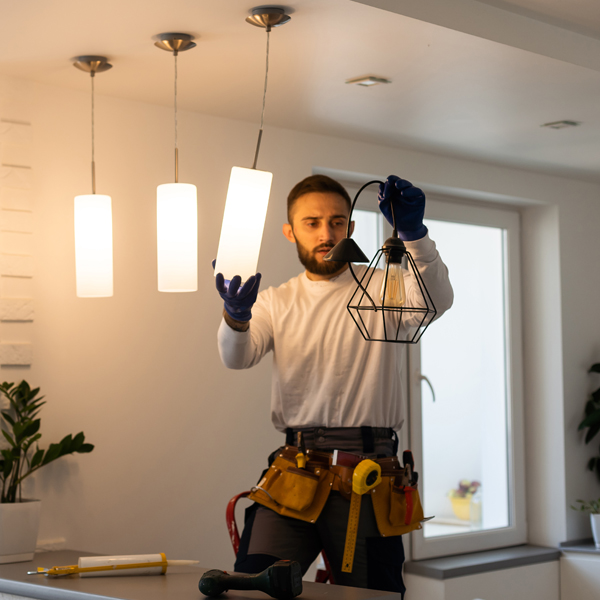
Low-voltage (12V/24V) systems can often be installed by competent DIYers. Mains voltage installations must be carried out by qualified electricians in compliance with BS 7671 regulations.
How far should garden lights be from my neighbour’s boundary?
There is no fixed distance, but lights near boundaries should be angled downward and inward toward your property to avoid light spill. Shielded fixtures prevent nuisance regardless of distance.
What is the best way to control garden lighting?
Timers, dimmers, and smart controls allow you to adjust brightness and duration based on actual use. PIR sensors work well for security zones, while manual control suits entertainment areas.

